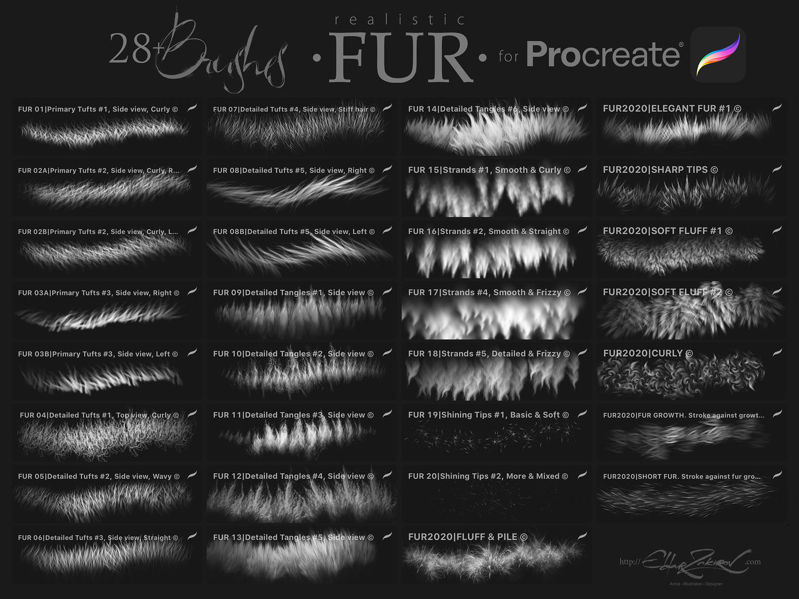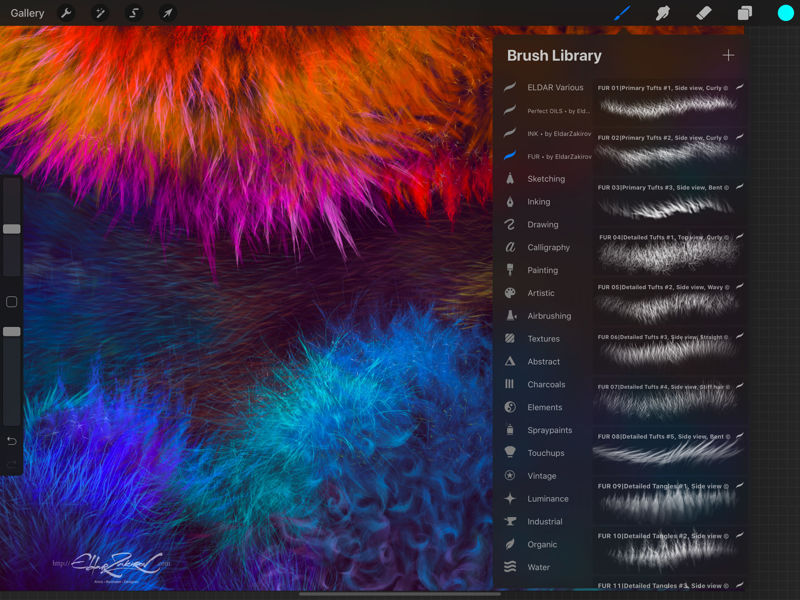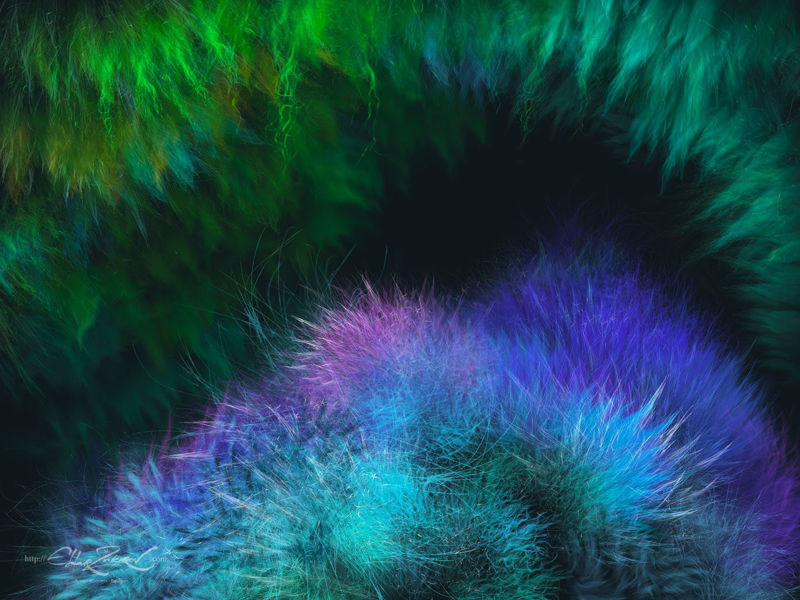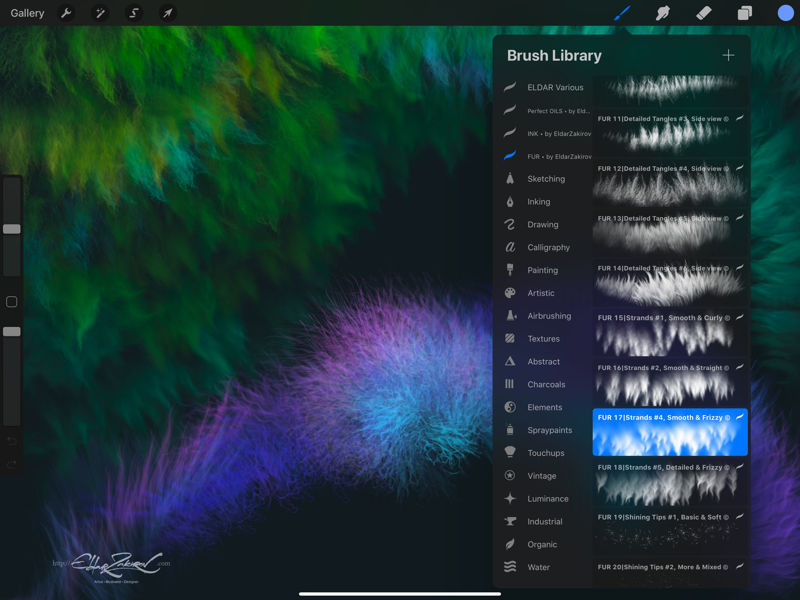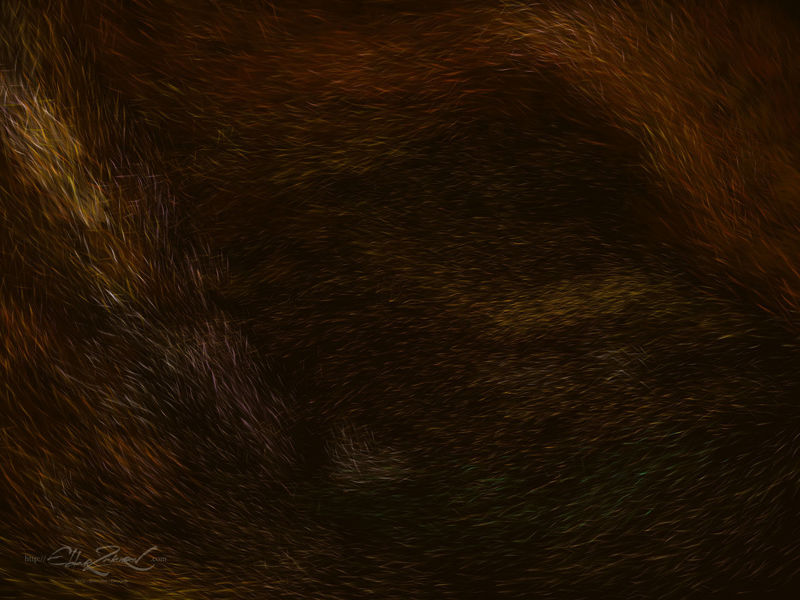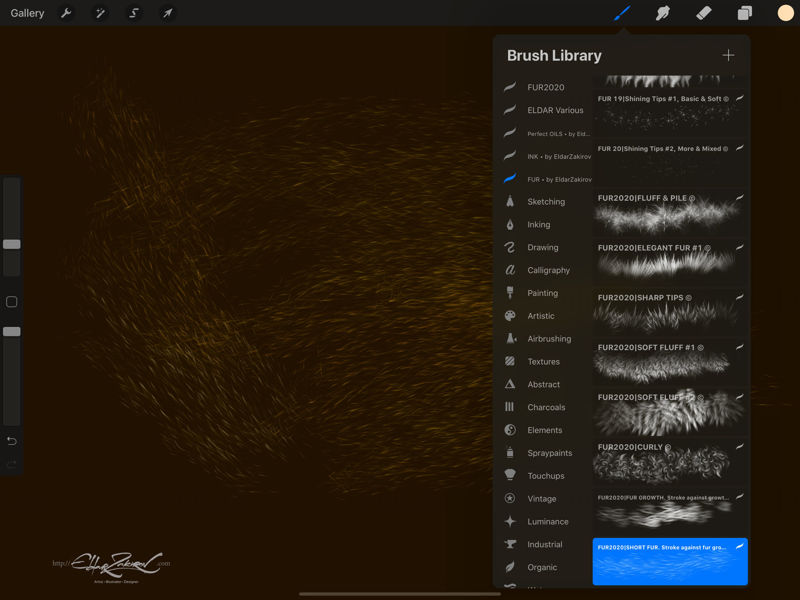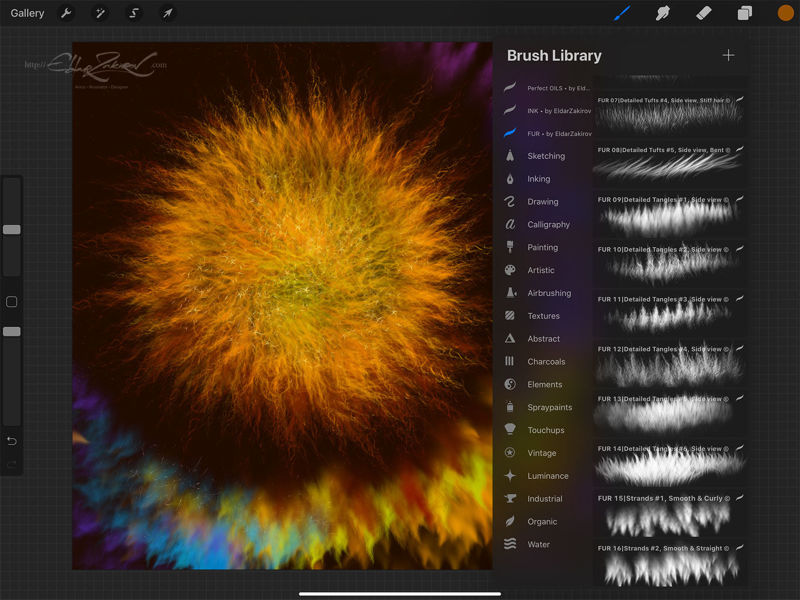


28 Realistic FUR brushes with all settings for Procreate 5
(for iPads and Procreate Pocket for iPhones)
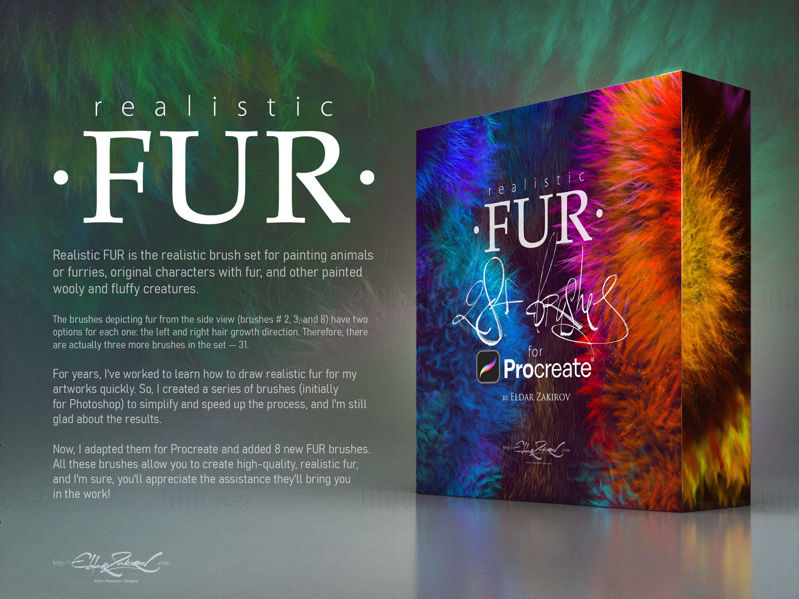
• Also, the brushes depicting fur from the side view (brushes # 2, 3, and 8) have two options for each one, for left and right hair growth direction. Therefore, there are actually three more brushes in the set.
• You receive in the ZIP archive:
• FUR_•_by_EldarZakirov.brushset — the file containing the FUR brushes for Procreate;
• Realistic FUR for Procreate — some tips and notes.pdf — the PDF file containing some tips you see below to have them on hand;
• Some helpful tips and notes:
• How I'd advise painting furry volumes. As you know, there are a number of basic shading techniques in painting and drawing, and I like this one as the most appropriate for me — I find it one of the most rational by painting the fur — to start coloring with a neutral, halftone local color, then shade it according to the volume and lighting, then add layers of the fur with colors a bit lighter than underlying shading.
• You can try at first to place basic shading with a simple brush, hard or soft (as you can see in the video with demonstration), and then put the fur strands above, according to the form and lighting.
• After, as usual, it's necessary to make some areas deeper (darker) — for example, shaded areas deep among strands near their roots — or set some light and highlight accents in the lights.
• You can also experiment with layer' and brush blending modes, such as Soft Light, Screen, Multiply, etc.
• As in painting or drawing at all, I'd recommend proceeding from common, main shapes to partial ones and details: firstly, specify the main big volume, lights, and darks, then put non-detailed fur strands using matching brushes, and then make the detailing with detailed fur brushes.
• In the end, I'd add some of the sharpest strands or hairs, maybe blur or darken some of the underlying strands, and light up some of the most visible, highlighted ones. Try to make some of them softer or sharper, darker, or lighter in the finish or work, a kind of post-processing. Add some highlights.
• As said before, brushes # 2,3, and 8 have two options for the direction of left and right hair growth.
• How to install the brushes:
Just open absolutely any of the already installed or pre-installed brushes and choose 'Import' at the top of the brush settings panel. Then specify the file with the downloaded brush set (FUR_•_by_EldarZakirov.brushset). Voila! The folder with the set will appear at the top of the brush category list.
• Copyright and Terms:
• Instant download: Your files will be available to download once payment is confirmed.
• Please note: This brush set is also available for Photoshop, Procreate, and Clip Studio Paint.
You are looking through the PROCREATE version page.
Please be sure that you are buying the right one. No returns, exchanges, or cancellations. But feel free to contact me if you have any questions or troubles with your order and the set's work.
• This product can be used in unlimited personal and commercial works.
• Cannot be resold, shared, or provided to third persons entirely and partially.
• This product is not released under the GPL (General Public License) or any of its variations. If you find it on the market selling with such a license, it means that this product is distributed there illegally: it is stolen or redistributed illicitly without the author's knowledge.

